Portima Brio
Our company and Portima (www.portima.com) have done a Partnership to integrate their respective cloud platforms in order to increase the productivity of Insurance Brokers using both solutions.
Note: In order to ensure customer satisfaction, we only allow Partners who have been trained +certified by our company on the Portima integration to do such deployments.
1. Prerequisites to an installation in a Portima environment
Internet connection:
If the broker is using an Internet connection provided by Portima, some ports have to be opened by Portima to allow our phones to connect correctly to servers. The broker needs to contact the Portima helpdesk before the installation of the service. This has to be done even if there is no integration between Brio and our company.
Integration with Brio:
The broker needs to contact the Portima helpdesk before the implementation of the Brio- our company integration and ask for it to be activated on the Brio side.
2. Features provided by the our company-Brio integration
At this point in time, this integration mainly includes 2 features:
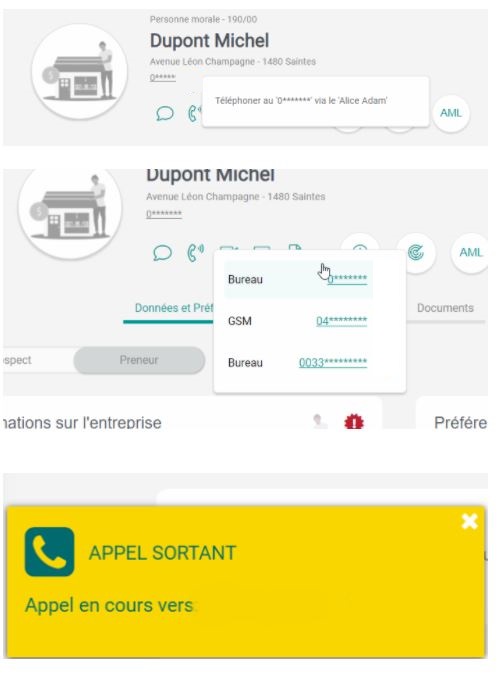
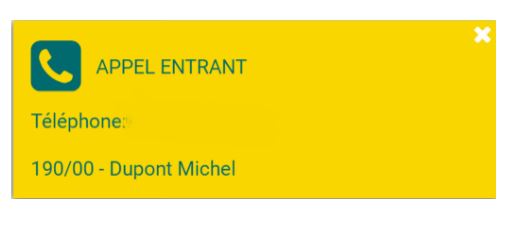
- Click-to-call: the Broker clicks on a phone number in Brio and the call is automatically launched on his phone
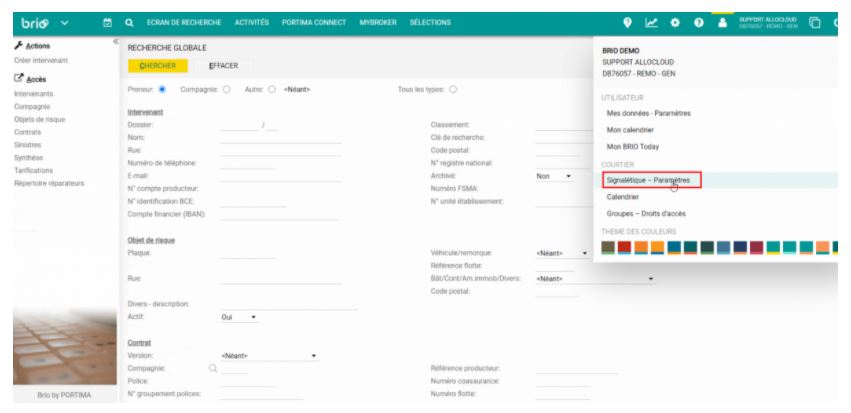
- Notification in Brio on incoming call: when a call comes in, the Broker is notified and the customer record opens automatically
Click to call in Brio:
Notification in Brio on incoming call:
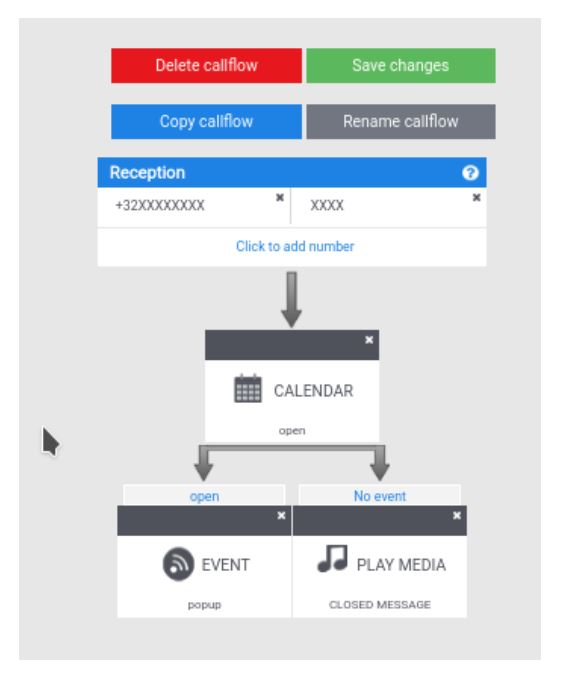
This feature is handled by Web Socket Events generated by the platform when a call comes into a callflow that contents a WS Event box. The Brio application subscribes to the event. When the event occurs on the portal, it triggers an action in Brio (notification of an incoming call in our case).
3. Configuration required in Brio
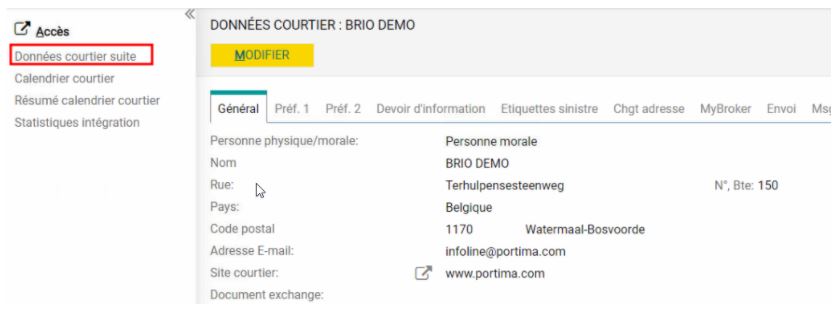
In Brio, go to Profile -> courtier/Signalétique – Paramètres.
In Brio, select Données courtier suite.
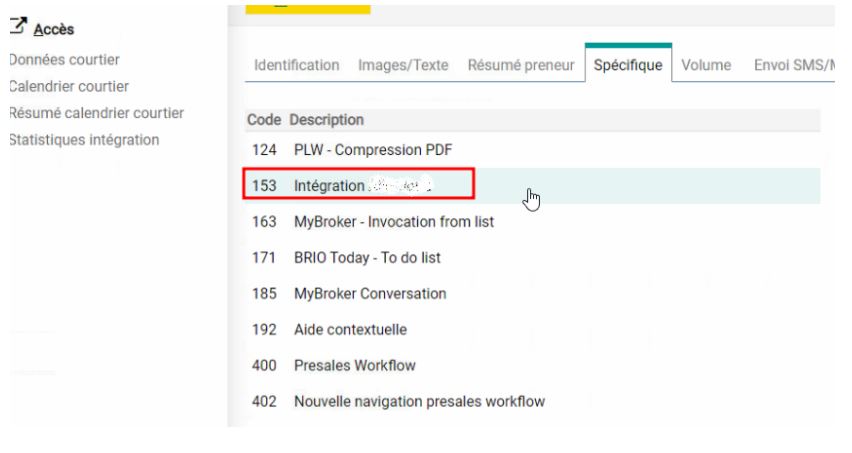
Select the tab specified and check that “Code 153: Integration has indeed been activated by Portima. If not, contact Portima helpdesk.
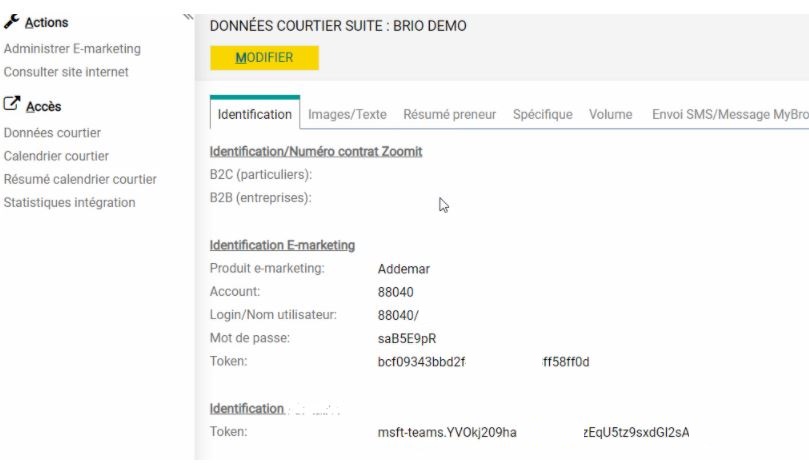
Generate an API key for BRIO in the Account Details:
From the same place (Données courtier suite); select the tab identification. Enter the API key into Token. This only needs to be done once per Brio account.
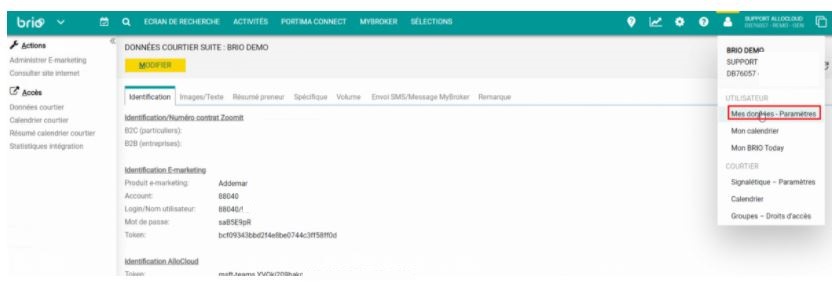
In Brio, go to utilisateur → Mes données – Paramètres.
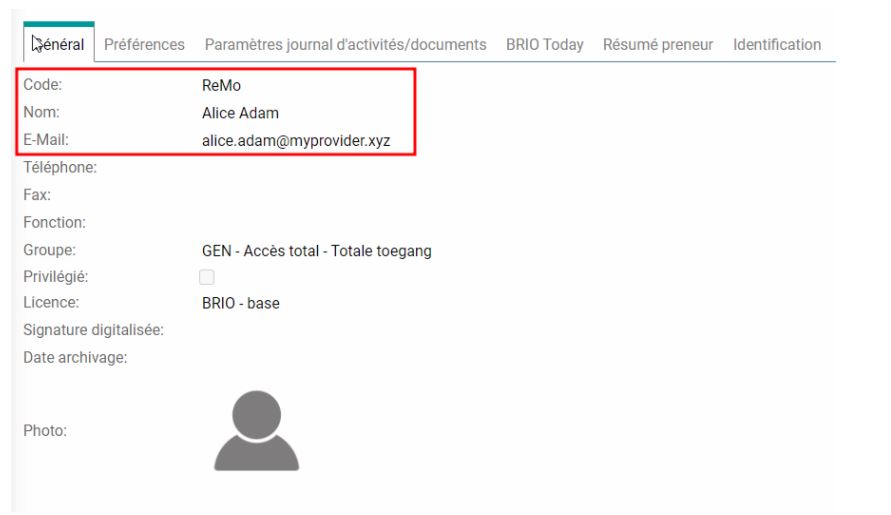
Copy ReMo (ReMo in the example).
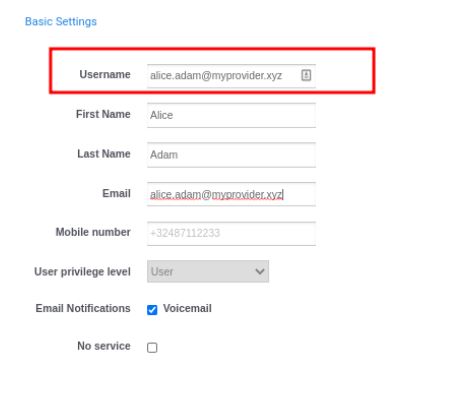
Copy E-mail address (as the Username MUST be the E-mail address used in Brio).
Go to Outils/Utilisateur/Identification.
Create WS Events. You can create several events. Event names cannot include spaces. Events must be in lower caps. Events must be separated by semi-columns (;)
In the example below, 2 events were created:
- general number: this is an event that will be triggered when a call arrives on the general number of the broker. It will be used to trigger a popup for several users. In Brio it will be configured with all user that need to get a popup when a call comes in to the general number.
- user Alice: this is an event that will be triggered when a call arrives on the direct number of the user Samy. In Brio it will only be configured with that user.
- Note: By default, Brio automatically creates a WS Event for each user. Its syntax is: briocf_user_BrioUserCode. You can use that event name but you have to make sure that you use an event named briocf_user_Alice in the callflow.
Create users on the portal.
Note: The Username in the portal MUST be the E-mail address used in Brio.
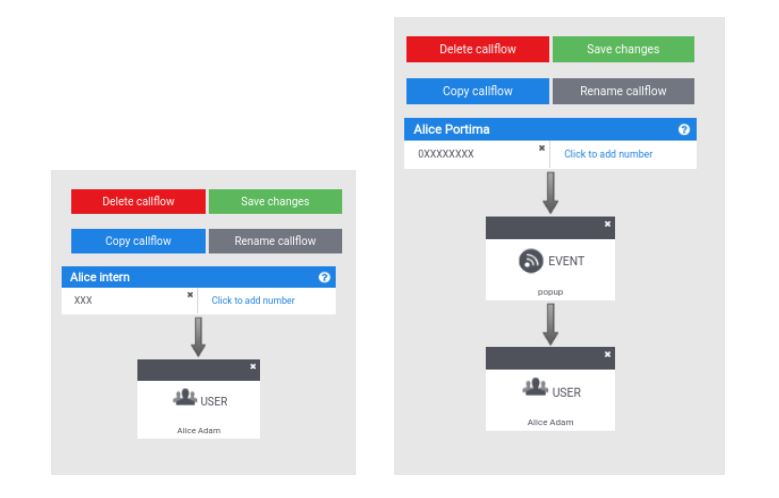
Callflows where an event has to be triggered within Brio when a call comes in should be structured as follows.
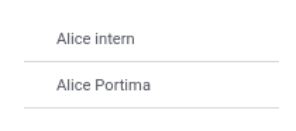
For a user, create 2 call flows:
- For internal calls: a callflow that contains no EVENT box (as the user doesn’t want to get Brio notifications for internal calls). “Alice INTERN” in the example.
- For external calls: a callflow that contains an EVENT (notification in Brio). This EVENT will be inserted as the first step in the callflow before addressing the user.
- When configurating the EVENT :
- Chose the type WebSockets. (Note : if you want to use the default syntax put ‘briocf_user_ReMo’ instead of ‘user Alice’).
- Chose in which number format the contacts are stored in BRIO.
- When configurating the EVENT :
Important: The number format 00 32 2 … is not supported for incoming recognition.
